Tuesday, January 28, 2014

breasthooks and freezing rain

well i added the breasthooks today. we shut down the office at noon so i got to come home and get some work done on her.  i mixed up some glue and clamped them in. 

drilling holes in the side of my boat was not intuitive and quite uncomfortable. 

brass screws went right in and i cleaned up the 'squeeze out' up with a paper towel. 
i was happy with the result. 
now i just have to keep the garage warm enough so this epoxy will cure. 


better day today...


well the glass patch cured. not very pretty


after some sanding and another thin coat of epoxy....


voila!  

man i love this stuff. its like the delam- disaster never even happened


snow coming this week.  i got sidetracked from my project today and made this for the boys... out of two old water skis


epoxy plus screws should hold her together. 

breasthooks are next!


Sunday, January 26, 2014

sand sand sand

well the glass went on easier than expected. 
i sanded most of the day today

you wouldnt believe the sawdust!

she came out great though


until disaster struck. a whole section of glass cloth delaminated right in the bottom of the boat. 
bad mix of epoxy i guess. 

had to scrape it all off and re-glass!  
nightmare!

its curing now so i will try to clean it up with the sander tomorrow. 

then another few coats of resin, and she looks pretty good


Monday, January 20, 2014

jan 19-20...glass work

well, we are back from disney and im back at it.  
i started by sanding the hull one time to get her ready for glass. 
then i clipped the wires in the stems, which was a little scary:  but she was solid as a rock. 
she sanded very nicely with 80 grit on my orbital sander. 


now that the wires are snipped, i discovered my new best (and most destructive) friend.....the rasp. 


the rasp is pretty dangerous. i scuffed a few spots pretty badly but they sanded out and eventually i got the hang of it. 


heres the rough edge after a few passes with the rasp. 

then i just sanded. 
it didnt take long and i had some beautiful stems. 


now that she was sanded smooth i fit and cut a fiberglass sheet and started mixing epoxy resin. 

the resin soaked into the cloth perfectly. actually, the instructions told me to mix about 24 oz....and it turned out the the exact amount i needed. 


i used a tongue depressor as a squeegee and it worked quite well. 


and heres the final product after trimming the edges. 

i let it dry overnight and coated her again with epoxy today, this time adding some more cloth to the stems for stability. 

now she looks really great and will be ready for lots of sanding tomorrow night. 


in other news, charlie ate his first bite of (non-mommy-breastmilk) real food today....
ice cream from mr terry at the marina!
he didnt like the cold but loved the chocolate. 


Saturday, January 18, 2014

Not working on the boat today but wanted to upload some pics taken by my brother in law (russell-killen photography) while i was working last weekend;
as you can see, he and marie are super-talented photographers!


Wednesday, January 8, 2014

jan 8. stems

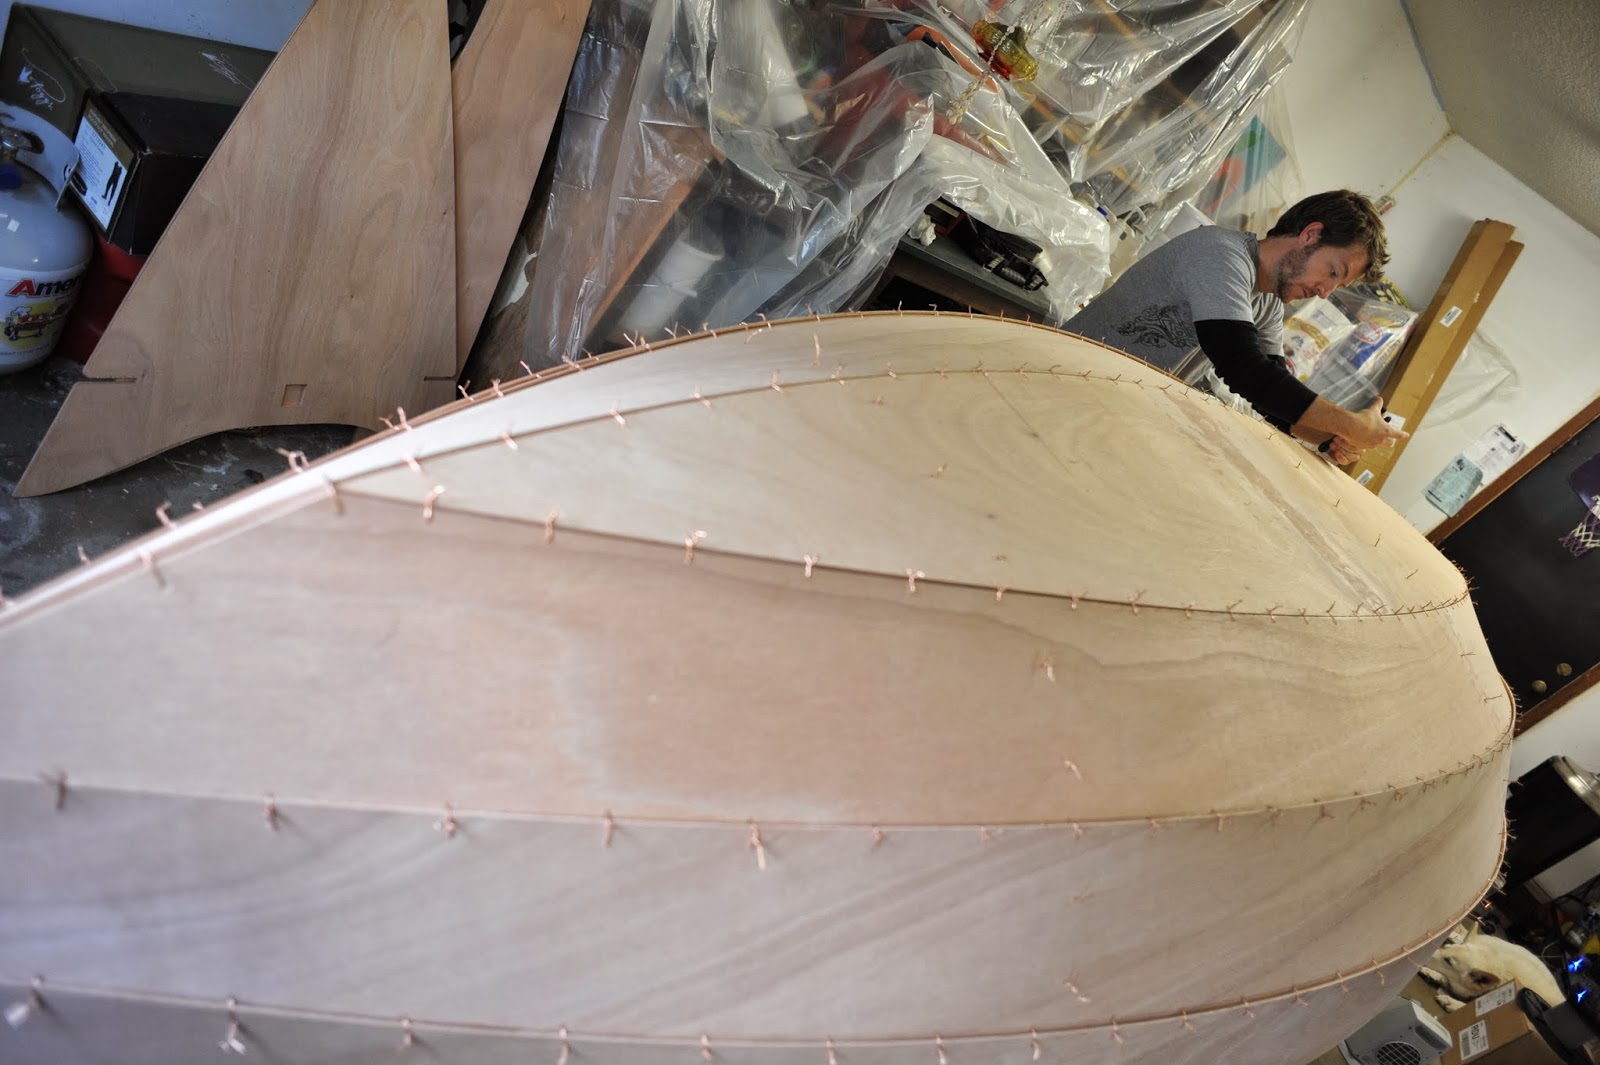
well, tonight  jennifer and i flipped her over so i could glass the stems from the inside. 
before i started mixing, i made sure she was square and true again, this time right-side-up. she looks pretty good!

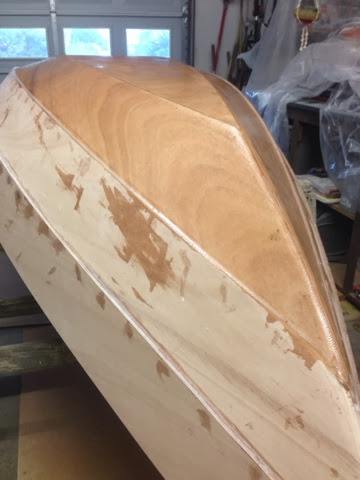
i filled the gaps with epoxy paste made of mostly wood flour, silicone, and epoxy. i used a tongue depressor from the office to shape the fillet. 
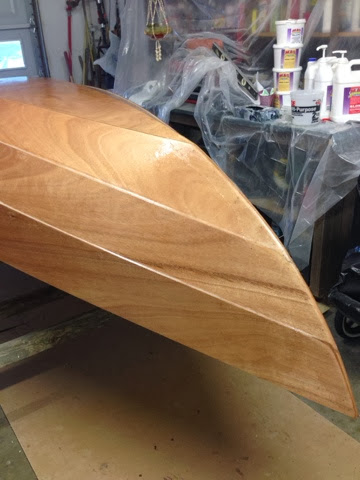
then i covered it with a 3 inch fiberglass tape strip. then over that with clear epoxy. 

this is the bow. it actually looks better than the one in the instruction book!

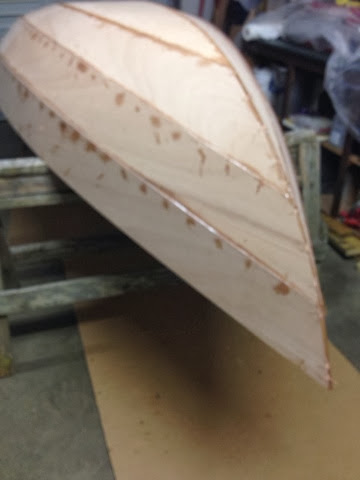
and the stern. also looks good. had to cut a few holes in the fiberlglass to let keep the copper wire from tenting (ill cut the wire later). 

i also glued the rubrails tonight. 16 feet long in 3 sections. hope they hold!


Monday, January 6, 2014

Jan 6: pullin wires then more glue

woke up this morning and started pulling wires. like other bloggers have said, they came out quite easy....even the ones that were epoxy'd in. 

there was some nervous anticipation here....is she going to hold together without stitches?

she did. and did well. 
heres the garboard, stitched up with glue in between. 


notice the sag in the seam line where the epoxy settles. ill have to come over this with more epoxy later 


heres a nice seam after several fills of epoxy and stitches out. 


another nice looking seam. ill sand this later. 

its supposed to be 18 degrees tonight. i have the heaters blasting for a cure!


and heres the nose where she sits as of now. 
will flip her and do the stems next.